# Write a Notebook #4 - Put everything together
We have finished most features of the notebook application. In this chapter, let us accomplish the rest parts and put them together.
## Create a notebook
In previous chapters, we added notebooks programmatically. Now, we tend to create a notebook through the user interface.
Since adding a notebook only requires a name input, it is enough to pop up a dialog.
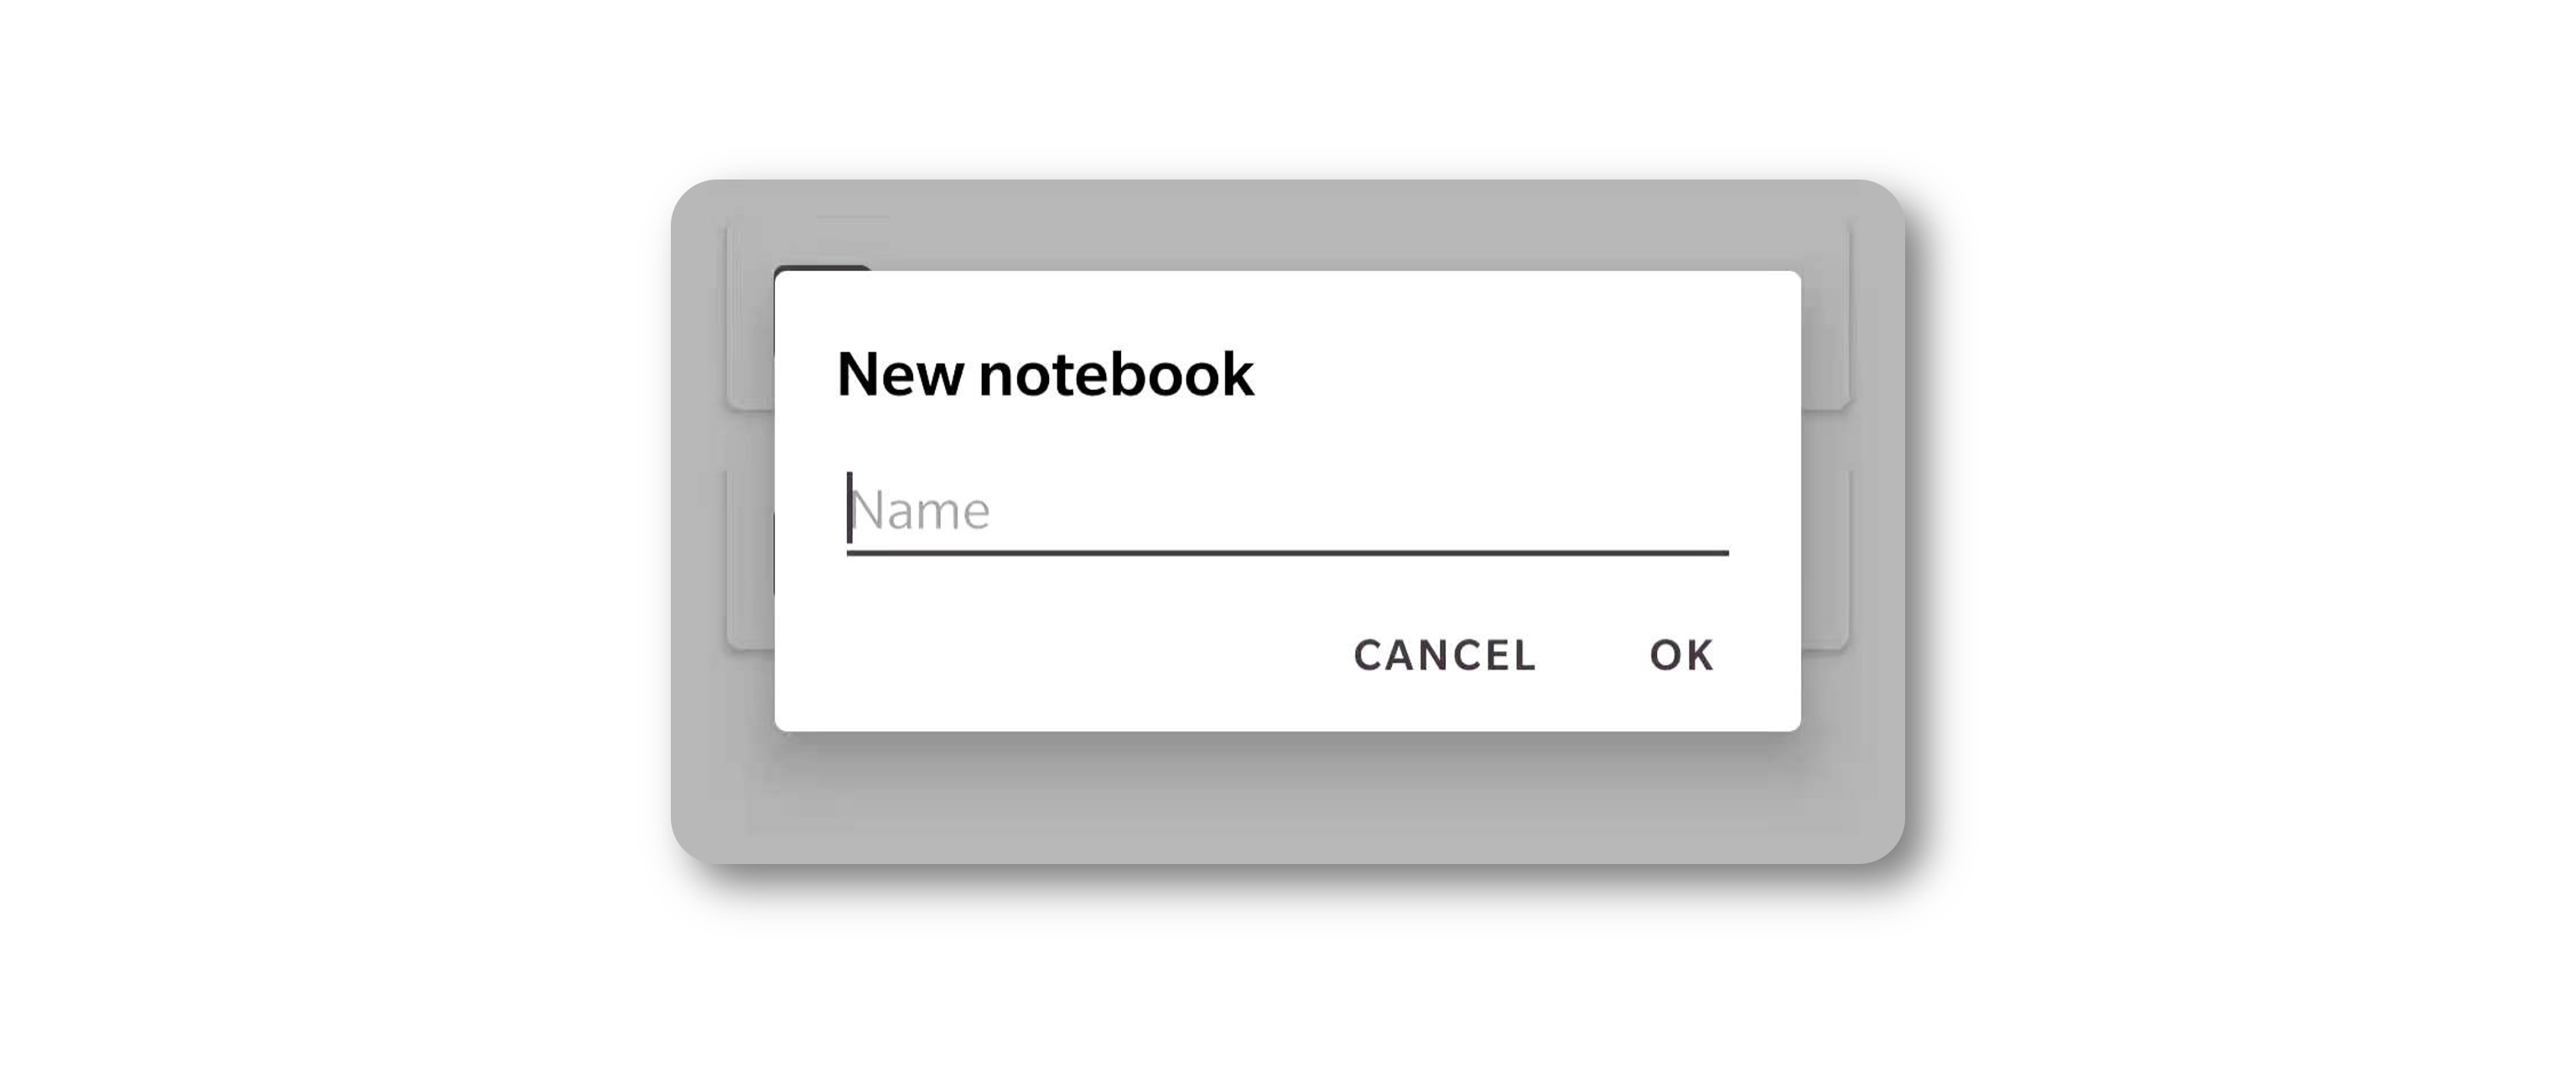
**MaterialAlertDialogBuilder** is the best option to create the dialog. Here is the code:
```kotlin
MaterialAlertDialogBuilder(context)
.setView(view)
.setPositiveButton(android.R.string.ok) { dialog, which ->
nbNameView?.let {
val name = it.text.toString()
if (name.isBlank()) {
Logger.warn("notebook name is empty, skip")
return@setPositiveButton
}
val notebook = Notebook.createNoteBook(name)
notebookViewModel.insertNotebook(notebook)
}
}
.setNegativeButton(android.R.string.cancel) { _, _ ->
}
.show()
```
And corresponding layout is:
```xml
```
There are a few options that would matter to user experience:
- The property **maxLines** of **EditText** for notebook name should be 1. Otherwise, the display will become strange when the user presses *enter*.
- Check the **emptiness** of the user's input before you add it into the database. Otherwise, there will be some blank lines in your notebooks list.
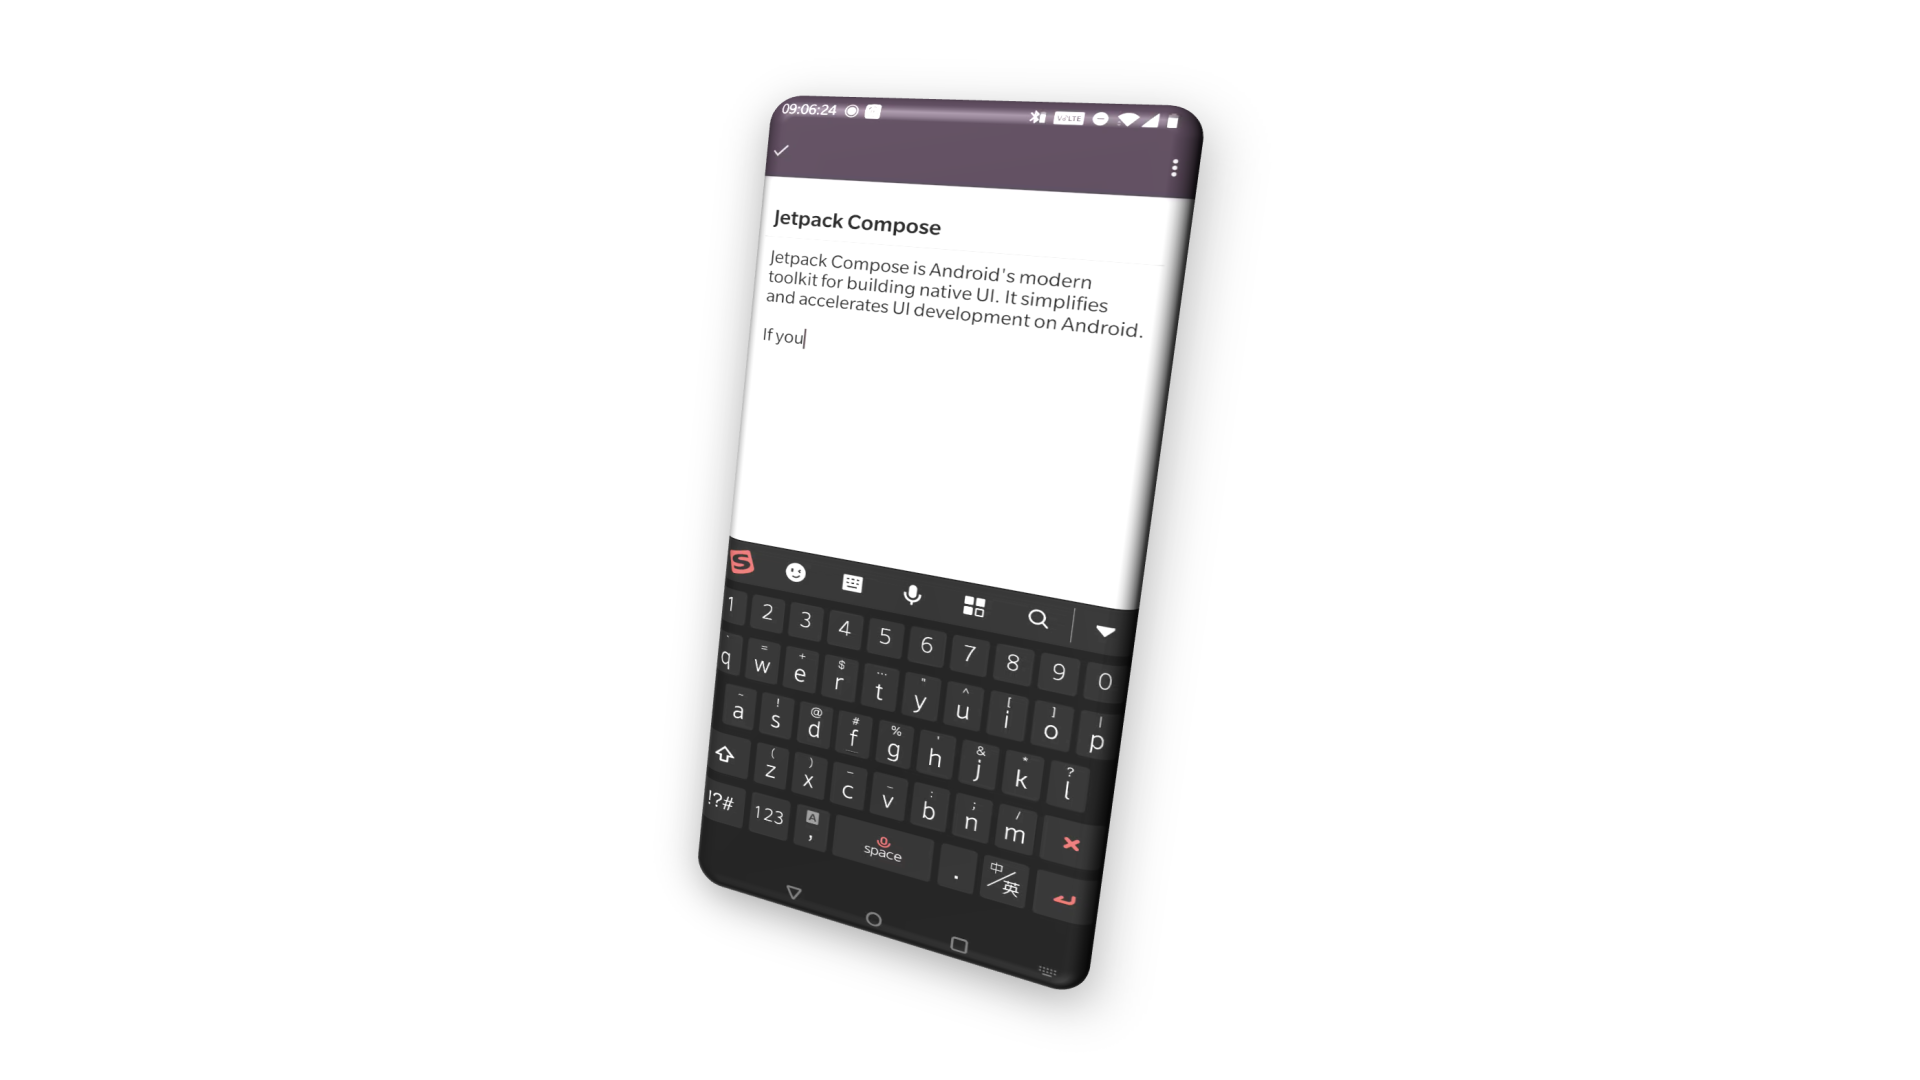
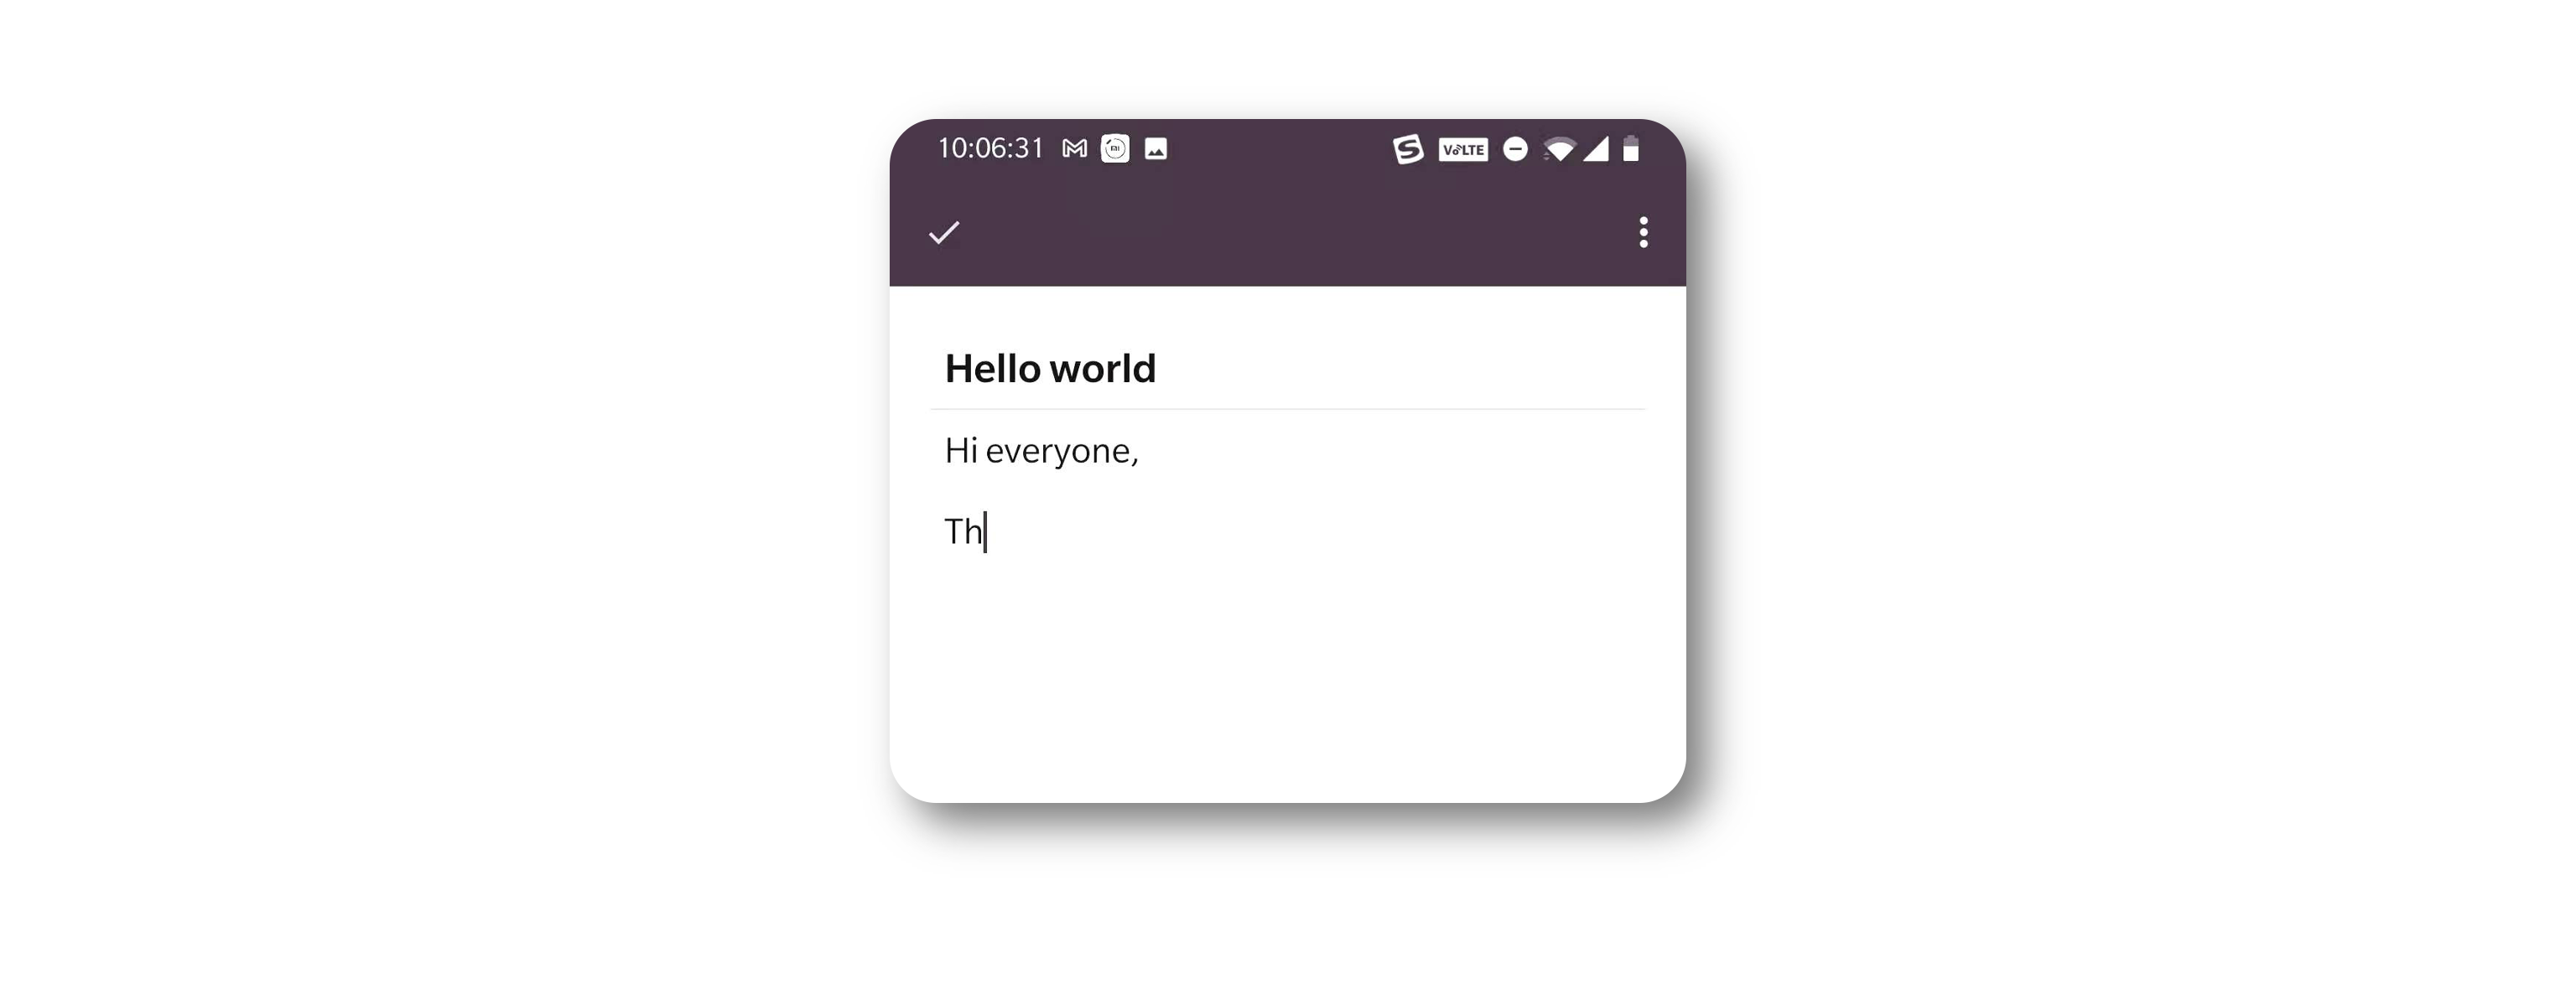
## Edit a note
Creating a note is a bit complex than creating a notebook. It is better to use a dedicated fragment rather than a dialog.
Since we do not intend to support rich format content, we can keep our user interface as clean and simple as possible.
The layout of the fragment is here:
```xml
```
There are also some details that you need to pay attention to.
### EditText backgrounds
By default, EditText has a decorated background. When it is focused, an underline with primary color will appear at the bottom of EditText. Obviously, it is not aligned with our design. To remove it, you can add the following property to your EditText
```xml
```
### Show/Hide soft keyboard
Handling the soft keyboard display is a problem you cannot avoid when you are using **EditText** in your application. Sometimes, it does not pop up properly as you expected. You have to add extra codes to control it.
First, we extend **EditText** with a shorcut funtion:
```kotlin
fun EditText.showKeyboard() {
post {
if (requestFocus()) {
val imm =
context.getSystemService(Context.INPUT_METHOD_SERVICE)
as InputMethodManager
imm.showSoftInput(this, InputMethodManager.SHOW_IMPLICIT)
}
}
}
```
Then, we call it when we want to show the keyboard. For example, after when we have loaded the content of an existing note to the user interface, we prefer to set the editing cursor to the end of its description and show the soft keyboard. It is a good experience for users to continue editing from the last saved point.
```kotlin
private fun attachNote(note: Note) {
titleView?.setText(note.title)
descView?.setText(note.desc)
descView?.setSelection(note.desc?.length ?: 0)
descView?.showKeyboard()
}
```
### Differentiate creating and editing
Creating a new note and editing an existing one share the same user interface. You can handle different cases by a couple of arguments.
```kotlin
val args: NoteEditFragmentArgs by navArgs()
noteId = args.noteId
notebookId = args.notebookId
if (noteId != -1) {
lifecycleScope.launch(Dispatchers.IO) {
val viewModel = ViewModelProvider(this@NoteEditFragment)
.get(NoteViewModel::class.java)
val task = viewModel.getNote(noteId)
task?.let {
withContext(Dispatchers.Main) {
attachNote(it)
}
}
}
} else {
descView?.showKeyboard()
}
```
As shown above, we differentiate these two cases by the value of noteId, which is passed through Navigation arguments. If **noteId** is -1, it indicates that we are creating a note from scratch. While if the **noteId** is other values, we load the note from the database and attach it to the user interface.
## About
An informative About is also required for an application. **DevBricksX** provides you a quick way to generate your About screen.

**AbsAboutFragment** enables developers to show an About dialog with a unified user interface layout. It includes:
- A top illustration area
It shows an attractive image of your application. You can display your image by override **appThumbResource**. If it is set to -1, the dialog will not include a top illustration area.
- Application name
It displays the name of your application. You must provide the value of **appName** when you implement **AbsAboutFragment**.
- Application version
It shows the version of your application below the application name. It reads the value from your AndroidMenifest.xml automatically.
- Application description
It displays a brief text of your application. You must provide the value of **appDescription** when you implement **AbsAboutFragment**.
- Application icon
It displays an application icon sit along with the left side of the application name. You must provide the value of **appIconResource** when you implement **AbsAboutFragment**.
Here is the final implementation of the AboutFragment:
```kotlin
class AboutFragment: AbsAboutFragment() {
override val appName: CharSequence?
get() = getString(R.string.app_name)
override val appDescription: CharSequence?
get() = getString(R.string.app_desc)
override val appIconResource: Int
get() = R.mipmap.ic_launcher
override val appThumbResource: Int
get() = R.drawable.app_thumb
}
```
## Connect parts with Android Navigation
This is the last part of the tutorial, you have already finished every single feature of a notebook application. Now, you need to put them into different combinations to construct different use-cases. You can do it by yourself or use **Navigation** in **Android Jetpack**.
We recommend you to use **Navigation** because of its convenience. You can define different use cases by dragging-and-dropping fragments in a visual editor.
To active Navigation in your project, you have to add several dependencies in your Gradle build scripts.
In **build.gradle** under project root directory,
```groovy
dependencies {
classpath 'androidx.navigation:navigation-safe-args-gradle-plugin:2.3.1'
}
```
Also, in **sample-notebook/build.gradle**
```groovy
apply plugin: "androidx.navigation.safeargs"
...
dependencies {
implementation 'androidx.navigation:navigation-fragment-ktx:2.3.1'
implementation 'androidx.navigation:navigation-ui-ktx:2.3.1'
}
```
Open navigation editor and create the user flows by link our fragments together.

You can also update your cases by editting the codes:
```xml
```
> The last element in **navigation** is for **AboutFragment**. The element is enclosed in a **\** tag. This is because **AboutFragment** derives from **AppCompatDialogFragment**. If you use **\** as reset ones, you will get a blank screen when you navigate to it.
## Summary
With this series of tutorials, I hope you can create your notebook application with **DevBricksX**. If you have any questions or problems, please feel free to contact me. I wish my tutorials and libraries could help you and save your time in everyday development.